

July31, 2016
Did everyone enjoy their restful catch-up week? Or were you itching for your next pattern? Never fear, back to the blocks!
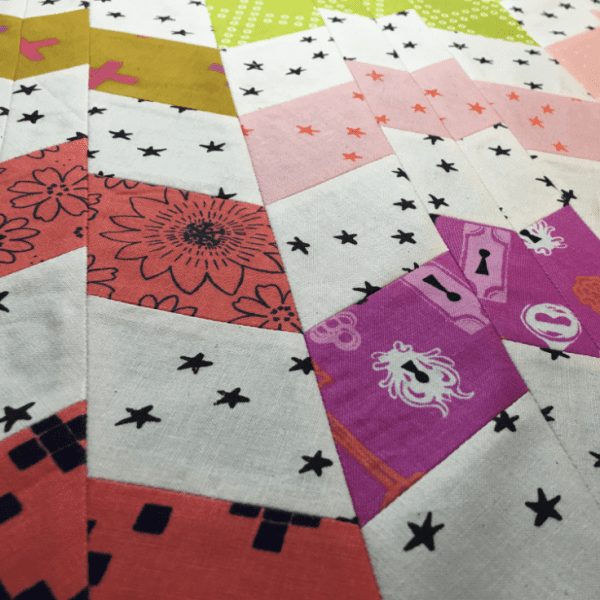
This week we’re doing Elizabeth Hartman’s Barn Bats free project.
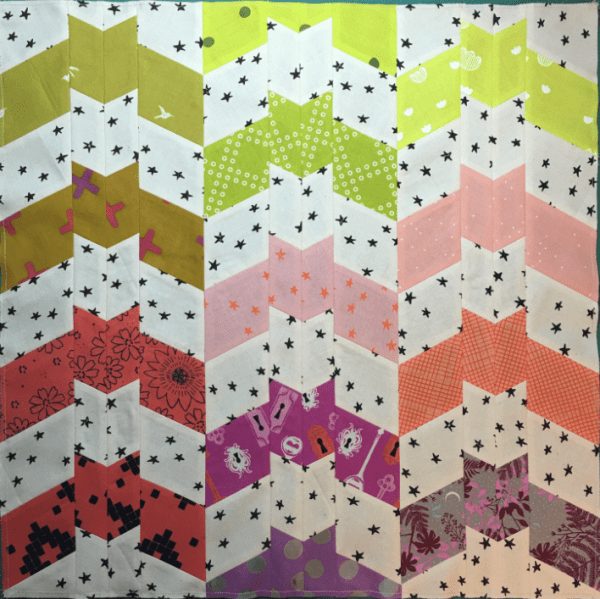
Elizabeth Hartman is one of my favorite designers, check out her blog here. Most people I talk to know her for her pieced animal patterns, but my favorites are her more traditional and less pictorial patterns like those in her book Modern Patchwork, an all-time favorite. I think Barn Bats falls somewhere in between those two ideas. It’s not really pictorial, unless you want it to be. I know the title implies bats, but I think it could also look like a Houndstooth variation. It’s all about how you color it.
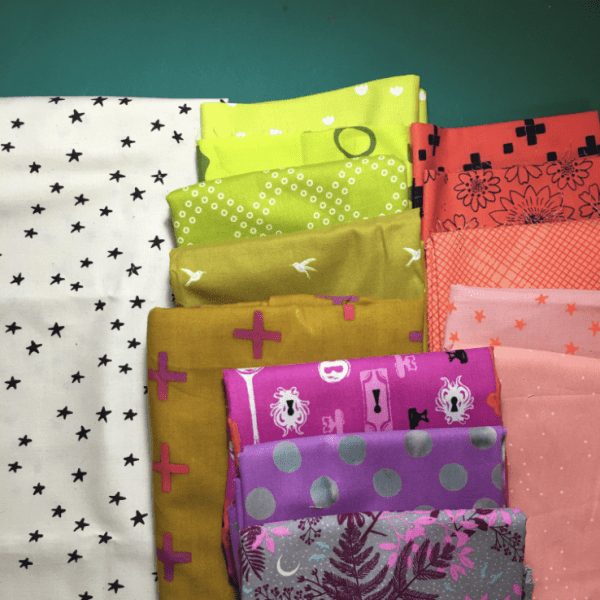
I had tons of ideas on how to mix this up—low volume scrappy with a solid white, light next to dark, one ‘bat’ different the rest blendy. I couldn’t settle. Honestly, my decision only came about because I procrastinated and I couldn’t get enough of the background fabric I wanted to use in time. To make it a checkerboard (checker bat?) you need ½ yard of background. I deal pretty exclusively in fat quarters. After digging around some and making phone calls, I found a fabric that I could get more of from my local shop and I was able to pull it together; sometimes Plan B ends up way better than Plan A! For the rest of the colors, I set mine out as a gradation.
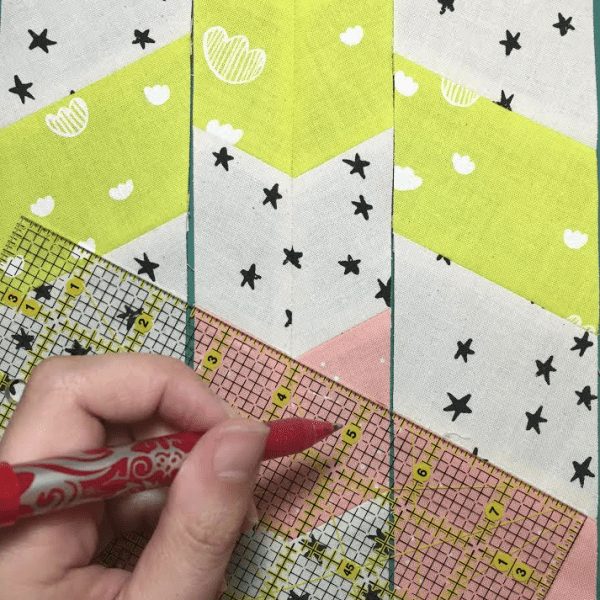
The Barn Bats pattern is a tutorial complete with pictures. The only tricky part for me came in the marking your fabric to offset the ‘wings’ from the ‘faces’. Use a ruler to line up the slant from an ear to the slant from a wing. Hopefully that helps.
The other part that’s tricky, just because, is squaring up the block. The block needs to be trimmed to 18½” x 18½” after your columns are sewn. You shouldn’t need to trim the width, but you’ll need to trim the top and bottom. That means it’s time to get out that jumbo 20″ square ruler that you hardly ever use, or you can do it with a regular 6½” x 24″ ruler. Like I said, you only need to do the top and bottom. After measuring mine, I decided that measuring ½” from the pieced points top and bottom was a good place to start. I then trimmed an additional couple threads on each side to make it perfect.
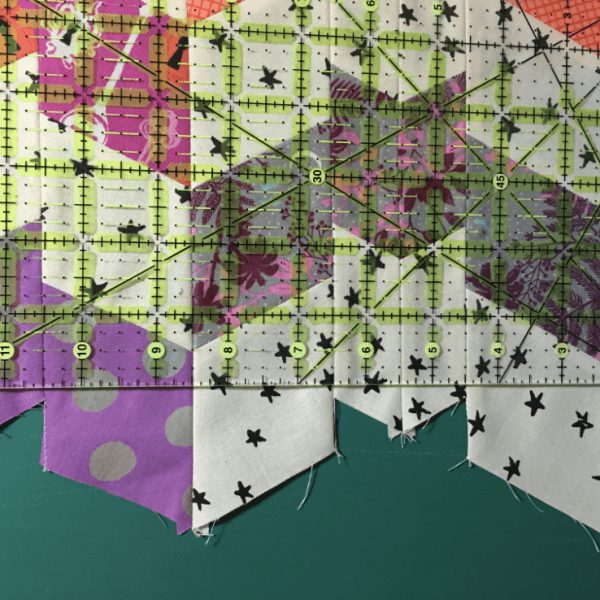
After everything was trimmed up, I also stay-stitched around the edge to prevent those bias edges from stretching. Don’t want those bats flying away on you.
Click here for the Barn Bats tutorial. You’ll make the whole block, but just one block. Remember to trim it to 18½”, not 18″.
Get to flappin’!