July10, 2016
Sunday Sunday Sunday means smorgasblocks smorgasblocks smorgasblocks. Doesn’t quite roll off the tongue, but oh well.
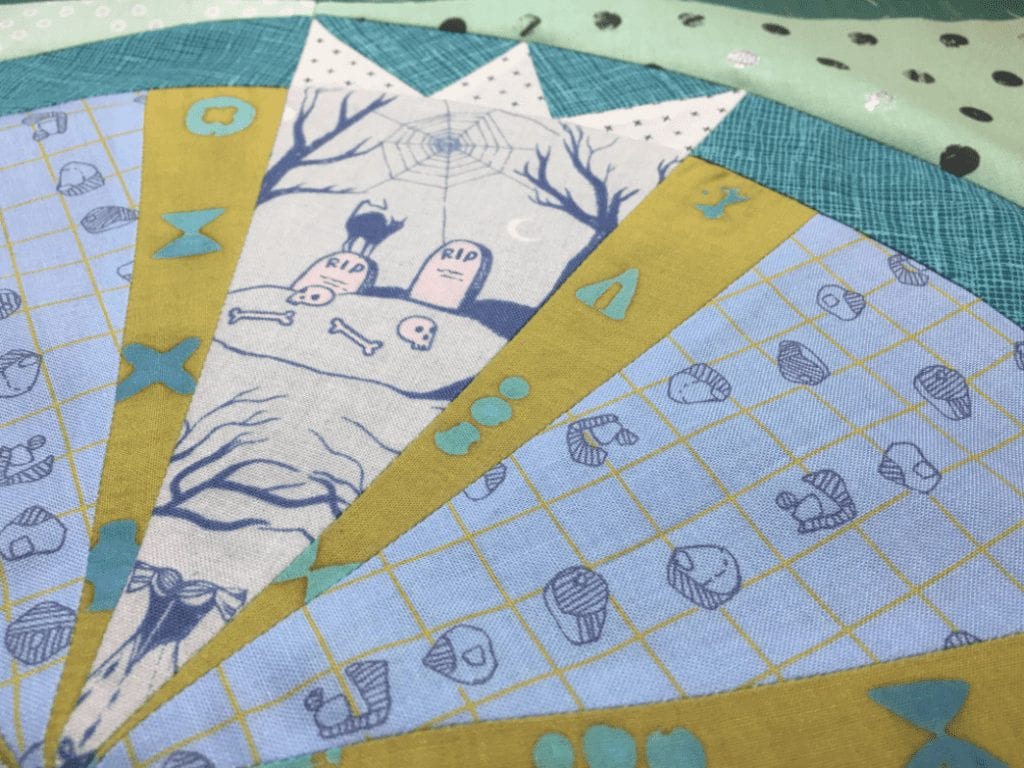
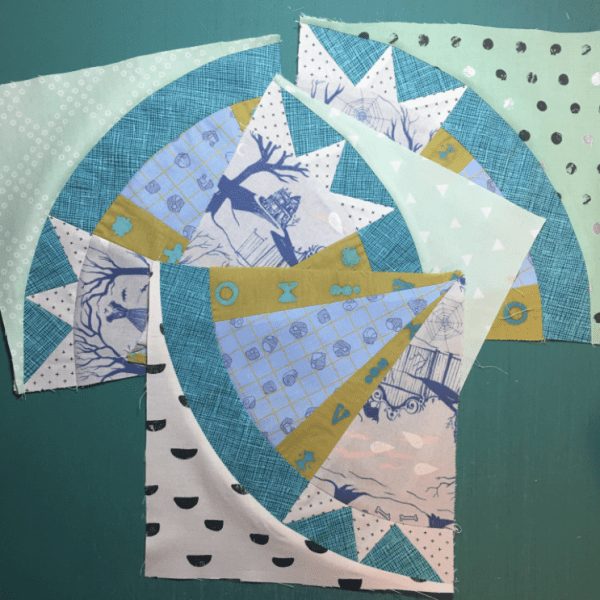
This week we’ll tackle curved piecing with No Hats Quilts’ Scandi Windmills pattern. I haven’t done circular piecing in 10 years and I love this block. I’m going to make more of them. They’re not scary and it’s a lot of bang for your buck quilt-wise.
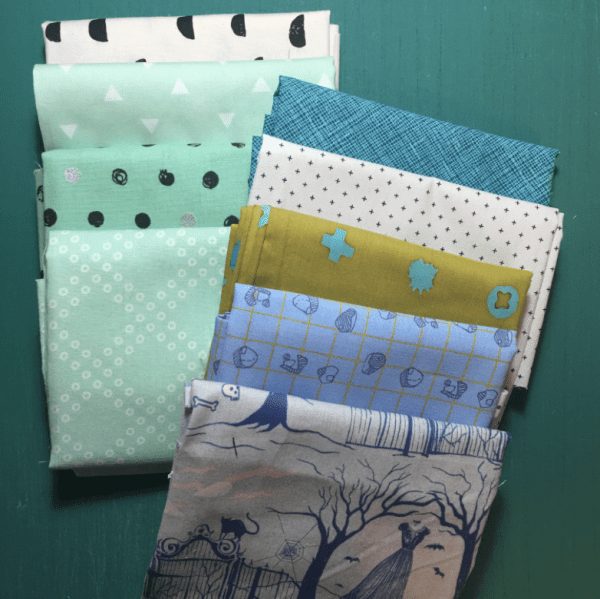
No Hats Quilts, aka Sarah Elizabeth Sharp, makes gorgeous quilts (click here to ogle quilty goodness) and started patterning her creations a little over a year ago. She designed Scandi Windmills to feature the luscious Oakshott cottons, which means that the original is all solids and has a completely different look. But as a 16″ finished block, it’s easy to use prints. The real challenge is deciding how scrappy you want to go.
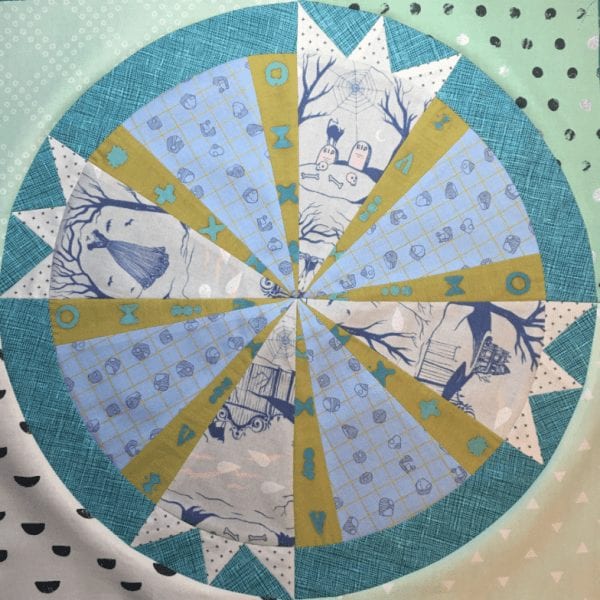
After studying her picture, I loved the blocks that were super-duper scrappy, with every blade different and multiple backgrounds and different colors in the ring. However, since I was using prints, I didn’t want it to become crazy and make your eyes water to look at it. I stuck with keeping my center windmill controlled, but I did end up using four different backgrounds.
Now if you’re worried about doing curves, you’ll be fine. Sarah Elizabeth gives instructions for joining those curvy bits. It’s a big circle so the curve is really gentle. Don’t tug and make sure your quarter-inch seam is accurate, and you’ll be fine. I would add that if you think you can do it and get away with not pinning, you’re wrong. For the love of tacos, PIN!
The really cool thing about this pattern is that your Scandi Windmill can rotate. It doesn’t have to be perfectly centered, it can tilt and whirl however you see fit. What I mean by that is if you follow the instructions, you create your center circle, then you set it in the background pointing in any direction you choose. The other way to assemble, which isn’t in the instructions, is to join the circle quarters to the background quarters. Then stitch your quadrants together to form your block, just like any other. This method means that you’re not handling all of the circle at once. The down side to this is that you have less freedom to spin your windmill.
Click here to visit her Craftsy shop and get your Scandi Windmills pattern. You only have to make one 16″ block, even easier than last week.
And thank you to everyone who’s participating. I love seeing your creations on Instagram with the smorgasblocks hashtag. Your quilts are lovely!