August28, 2016
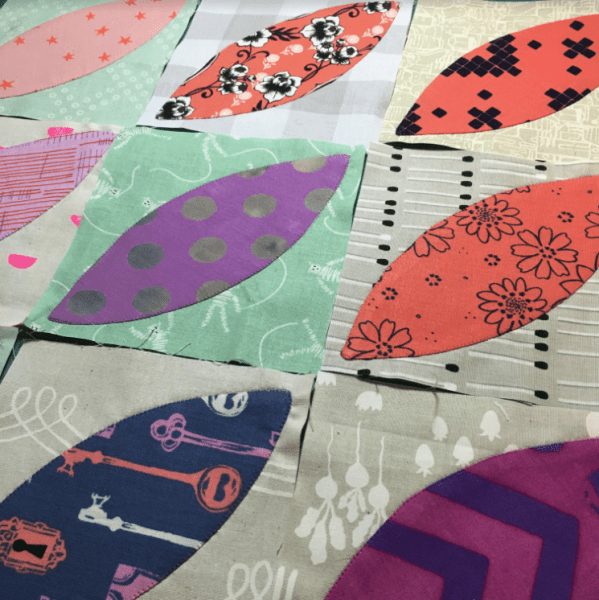
Greetings Smorgasblockerinis! It’s the last smorgasblocks! Well, not really. We have two more weeks of smorgasblock-goodness, but this is the last week that you will make new blocks. So without further ado I present Orange You Glad!
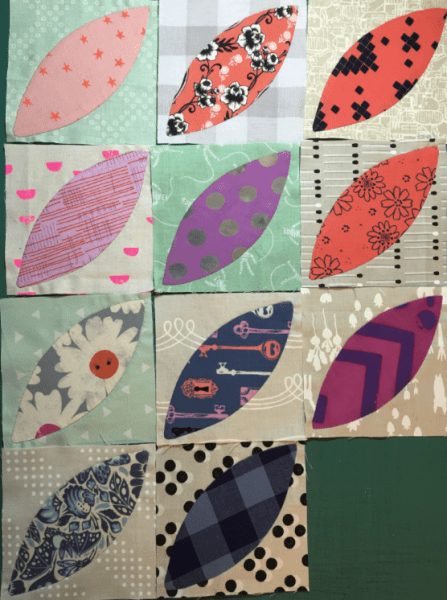
Orange You Glad is a throw quilt and appliqué tutorial by Emily Herrick of Crazy Old Ladies, click here for her blog. Emily does a variety of patterns, designs fabric, and writes books. She’s a creative whirlwind. And I have to say that her Geared for Guys book is a personal favorite. Lots of graphic funky patterns in there, but I’m veering off topic. Anyway! Emily designs piecing patterns, but she does a healthy dose of appliqué as well.
I know that there are some of you out there that are rolling your eyes at me. You may think that appliqué isn’t modern, and has no place in your modern sampler. I think that appliqué can be as graphic and modern as you want it to be. For me, appliqué is another tool to get what’s in my head on to a quilt. And there are as many methods to appliqué as there are to make a half square triangle; as long as you get the results you want, none of them are wrong. Getting off of soapbox and back to the smorgasblocks now.
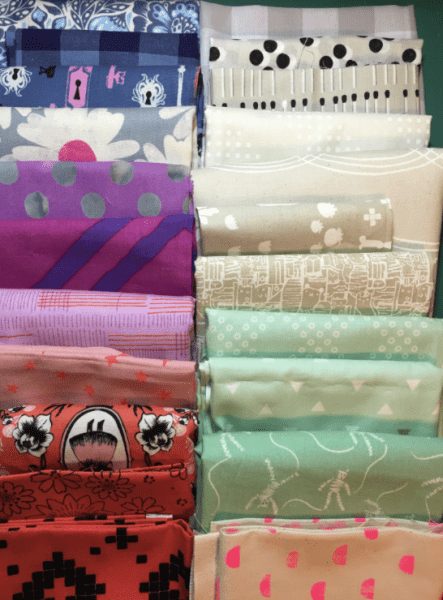
I had the most trouble picking out fabrics for these for no other reason than it’s my last time to introduce color and pattern to my quilt. I pulled out all my blocks and decided that I needed more blues, purples, and oranges. I wanted each block had a different background, so I tried to get a scrappy variety for those as well. This pattern is designed for charm packs. If you’re sticking with a particular line or designer, you might pull out one of those and see how it would work for you.
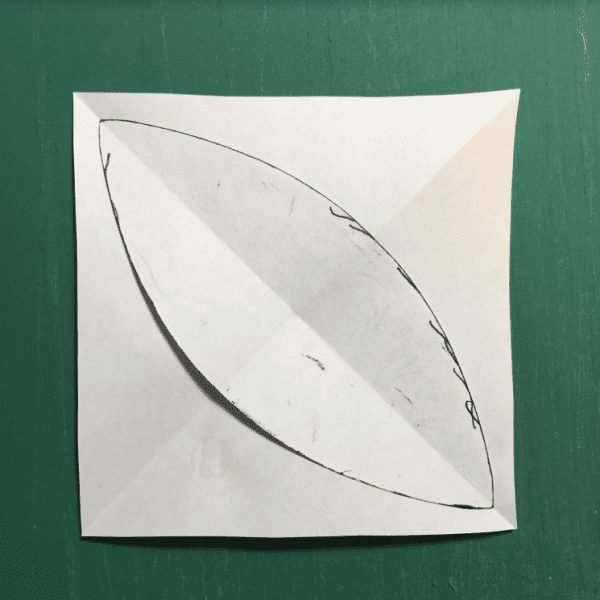
The Orange You Glad tutorial is more about the appliqué technique rather than the particular shape, so there isn’t a specific template to make your orange peel. I made mine by tracing a 4½” square and measuring ¼” in from opposite corners. I folded my square twice on the diagonal, then drew an arc, making sure that it ended in one of the dots ¼” in from the edge. I cut my arc so it went through all layers and voila! A perfectly symmetrical orange peel template.
I got a third of a yard of fusible interfacing, and used almost all of it. For a little more wiggle room, get a half yard to be safe.
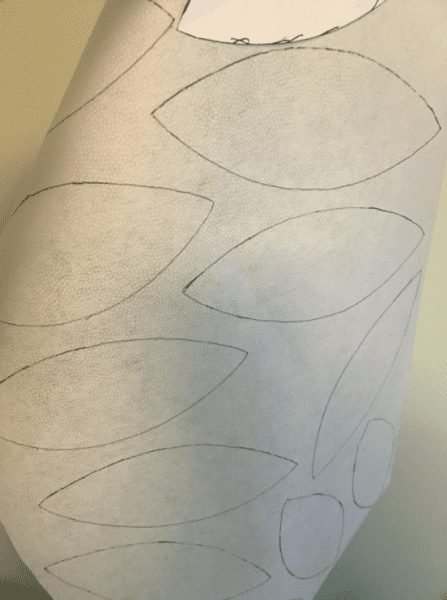
Since I wasn’t using charm packs, I just did a rough cut of the fabric to stitch my fusible orange peel. Make sure you don’t press your fabric after you stitch your orange peels to it!
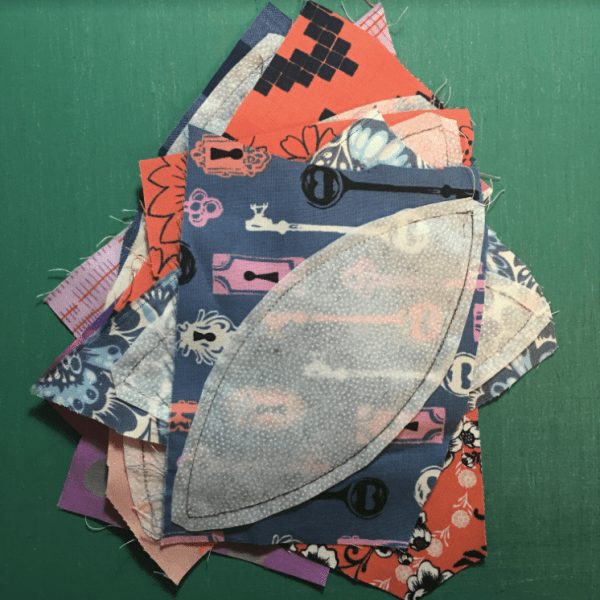
Turning them was pretty straight forward. I seemed to have better luck if I didn’t cut my center slit all the way to the tip. However I did grade my seam allowance close to the tips. Again, don’t press them with an iron to make them flat and your points pointier! Just a finger press is fine.
Emily mentions in her tutorial that she doesn’t stitch around the edge because it’s fixed with the fusible interfacing, but there are some people that do. I am one of those people. I also had some of the little glue dots come off as I was finger pressing and turning my orange peels, so I really didn’t trust them to stick to the backgrounds for an extended period of time. All I do to stitch them down is use a teeny tiny buttonhole stitch in invisible thread. You could also use a straight stitch or a zig zag and make sure you catch the edge. You could even use contrasting thread and make it a statement. Lots of options.
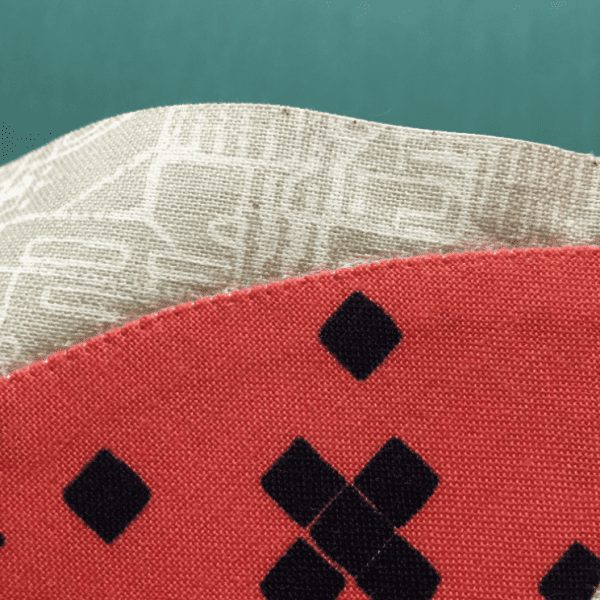
You need to make 11 Orange You Glad blocks. Emily’s appliqué tutorial can be found here.

I’m excited to see your appliqué! You can do it!
