May1, 2019
To quote the Sound of Music, “Let’s start at the very beginning, a very good place to start.” For this Yonder quilt along, or QAL, that means fabric and color placement.
When we did the Yonder the First, the blue and white Yonder, we wanted to show off how fabrics from different lines, designers, companies, even different fabric weights could all easily work together. So we pulled everything, and I mean everything. There’s even a plaid that’s at least 10 years old (no scrap unloved, amiright?) . The result is a shimmery-scrappy two color quilt. The bonus with using the same colors across the quilt is that extra pieces from one row, flying geese for example, can be used up in a different row.

Then we started talking to our good friends at Basic Grey about their gorgeous new line Nova. With so many pretty pieces, we wanted to use as many as possible. However, that also meant we had to come up with a different way to work our colors. How about a gradient?! The Yonder using Nova uses a different fabric in each row to fade from one color to another across the quilt. The bonus with using one color per row is that all your decisions and placement plans are in place; you won’t have to worry about the same half square triangle pairing winding up all in one section when it should be scattered across the quilt.

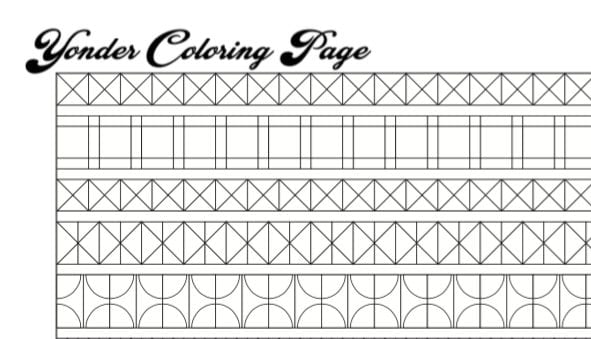
And of course there are plenty more options than a two color quilt or a rainbow gradient. To help you with your decision, there’s a coloring sheet in the back of the pattern. Make as many copies as you like and go to town finessing your color placement.
My advice? Give yourself a bit of wiggle room to change as you go, especially when you get to the short rows on the bottom. I found that Row 17 in particular, that’s the red row in the two-color quilt, is a pivotal color point. Depending on your fabrics, maybe your pivotal point will be a different spot for you.

If you haven’t gotten your pattern, here is the link to get your copy on Etsy. Please make sure that you DO NOT have ‘scale to print’ selected when you print. It’ll make your templates the wrong size and you’ll get mad at me.
As for me, I’m going to do my new Yonder out of Tula fabric. And since we already have a two color(ish) Yonder, I want to try my hand and making each row a different fabric. This might be more difficult for me since my stash is mostly fat quarters, and you’ll need between .125 – .5 yard per row, so oh no I’ll have to go shopping! I loved Tula’s Zuma line when it released in the fall, so I’m starting there. But of course some of Pinkerville worked its way in. I’m not going to go too crazy buying fabric for all the way down to Row 22 because she just did a teaser of her new line Monkey Wrench. I have a feeling it’s going to make an appearance in my Yonder, too.

One thing I haven’t mentioned is background; if you use all one fabric, you need four yards. I like to keep mine all one fabric, and a quiet one at that, because it’s one less thing for me to think about while I’m working on making the color gradation smooth. I can just grab my background and I know it’ll go with everything. I picked a white grunge. For the blue and white Yonder, it was an Alexia Abegg print of white on undyed cotton. And for the Nova Yonder, it’s a white grunge. Yes, I’m a sucker for a good grunge.
I can’t wait to see how everyone interprets their Yonder. From what I’ve seen so far, it’s going to be a mighty pretty group. We’ll start with Row 1 on May 15, but for now to the coloring sheets, everyone!
