
August13, 2025
We’re officially into our Palazzo quiltalong and we’re ready to sew. The goal for this week is to make 8, that’s half of what you’ll need total, of the center star blocks. If you used the coloring sheets from the intro post here, or you were super tech savvy and used the Quilt Mockup tool online figure out your color placement, you’re good to go. And you might have something like this floating around.
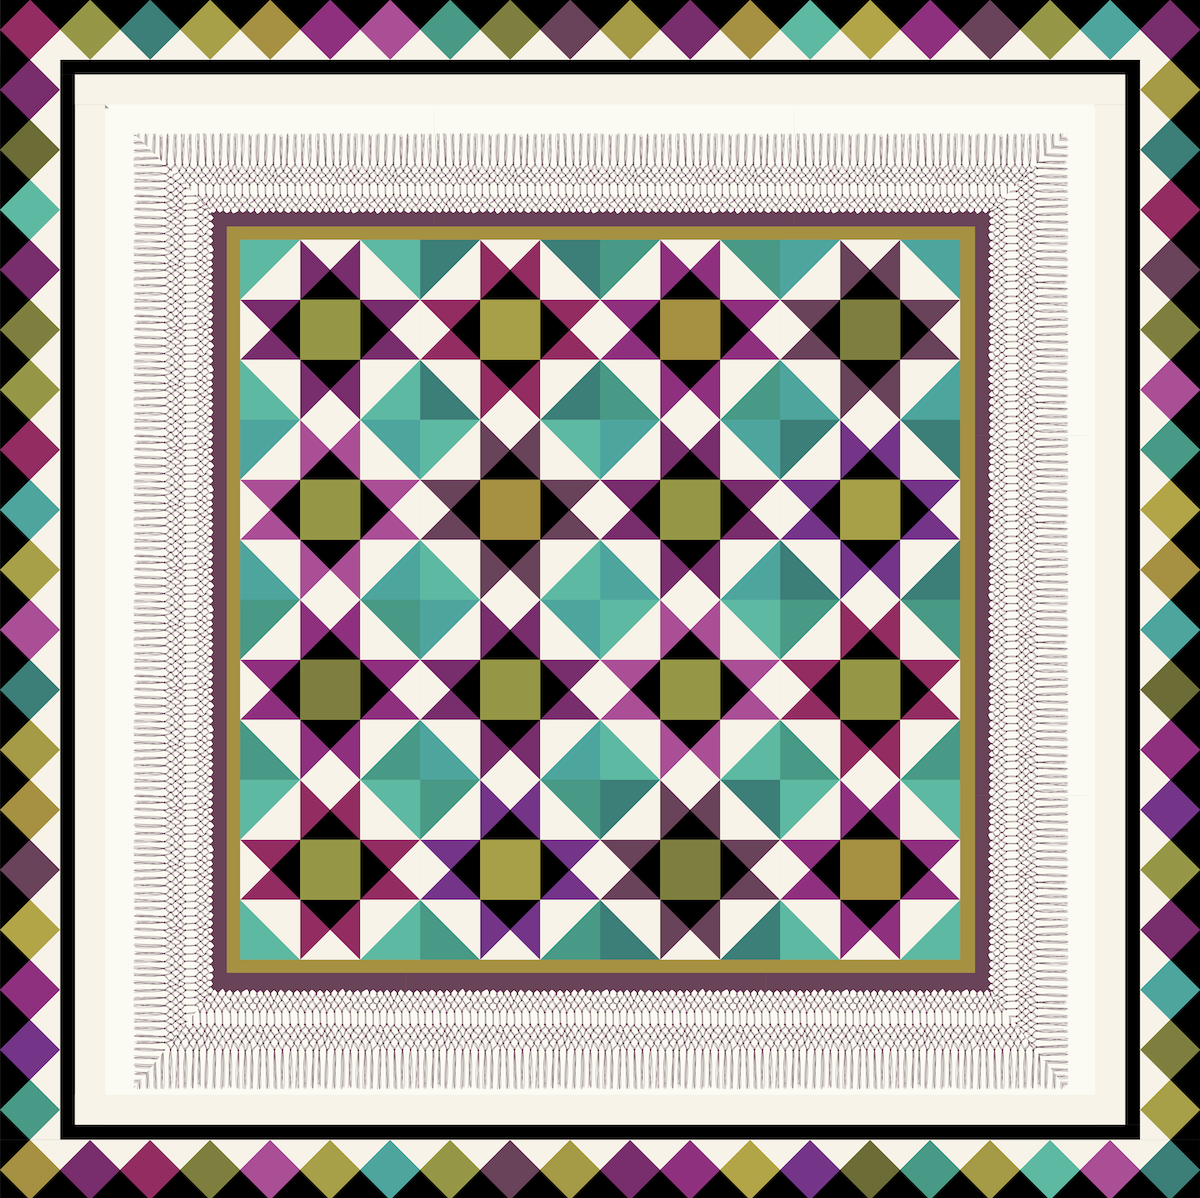
This is what I did on my computer to sort of get an idea of what I wanted my quilt to look like. I think I like the center star color placement. The only thing I wasn’t sure on was whether I was going to use that bark cloth focus print as the black in the starts or if I was going to use more fabrics and make it scrappier. Spoiler it, I went for the more is more approach.
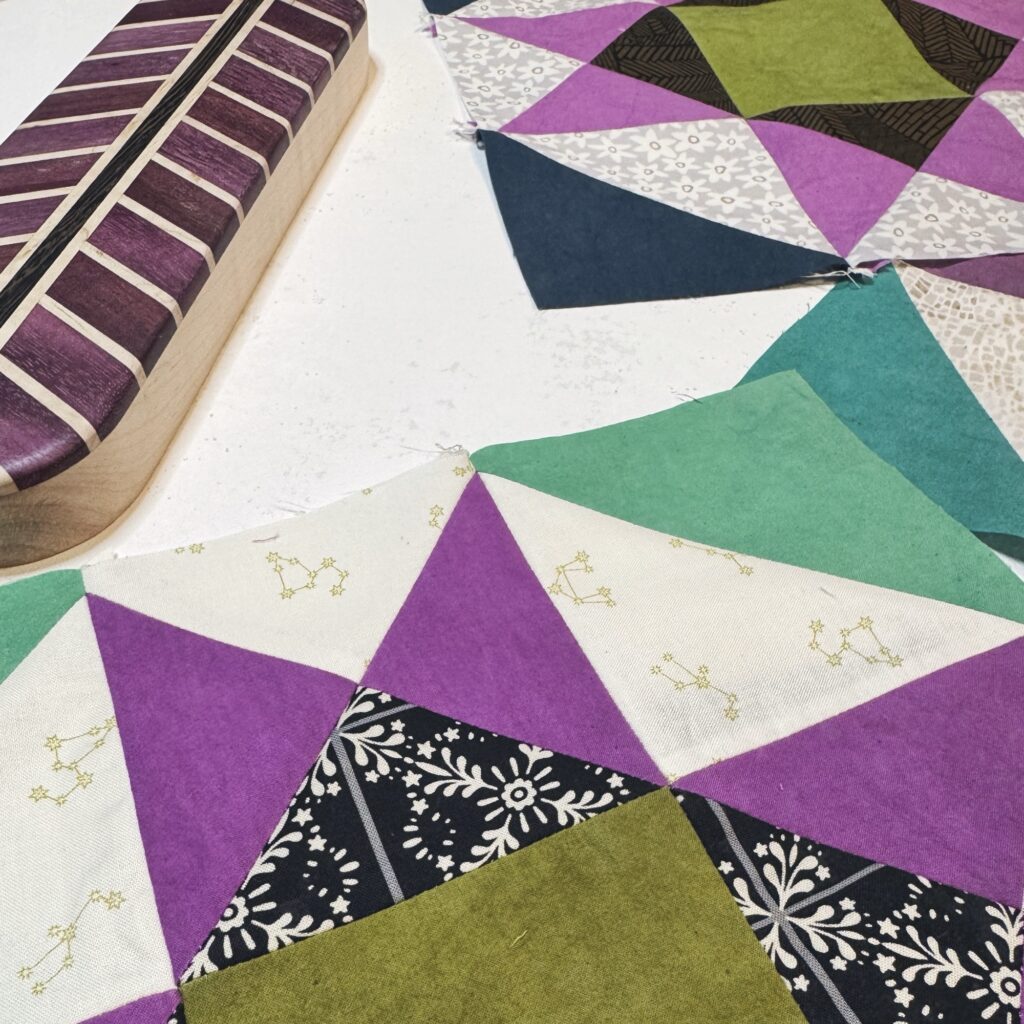
The pattern explains how to make the blocks but I wanted to add in a couple of pointers. First, the instructions call for those squares that will turn into half square triangles in the corners to be cut at either 5″ or 4.875″. I always recommend going for the little bit bigger at 5″ then squaring up your half square triangles to 4.5″ unfinished. That way you can be sure to have square units and not have to fight things as you go or build a wonky quilt.
In the same vein, I would recommend squaring up the pieced quarter square triangle units (the part of the block that includes the the star points) to 4.5″ unfinished after you stitch the unit together. I feel like with all that bias on those loose quarter square triangles it has a decent chance of growing on you, so trimming and squaring it up before you turn it into your actual block will make things easier in the long run. Yes, I figured this out when I was already three blocks in but who’s counting?
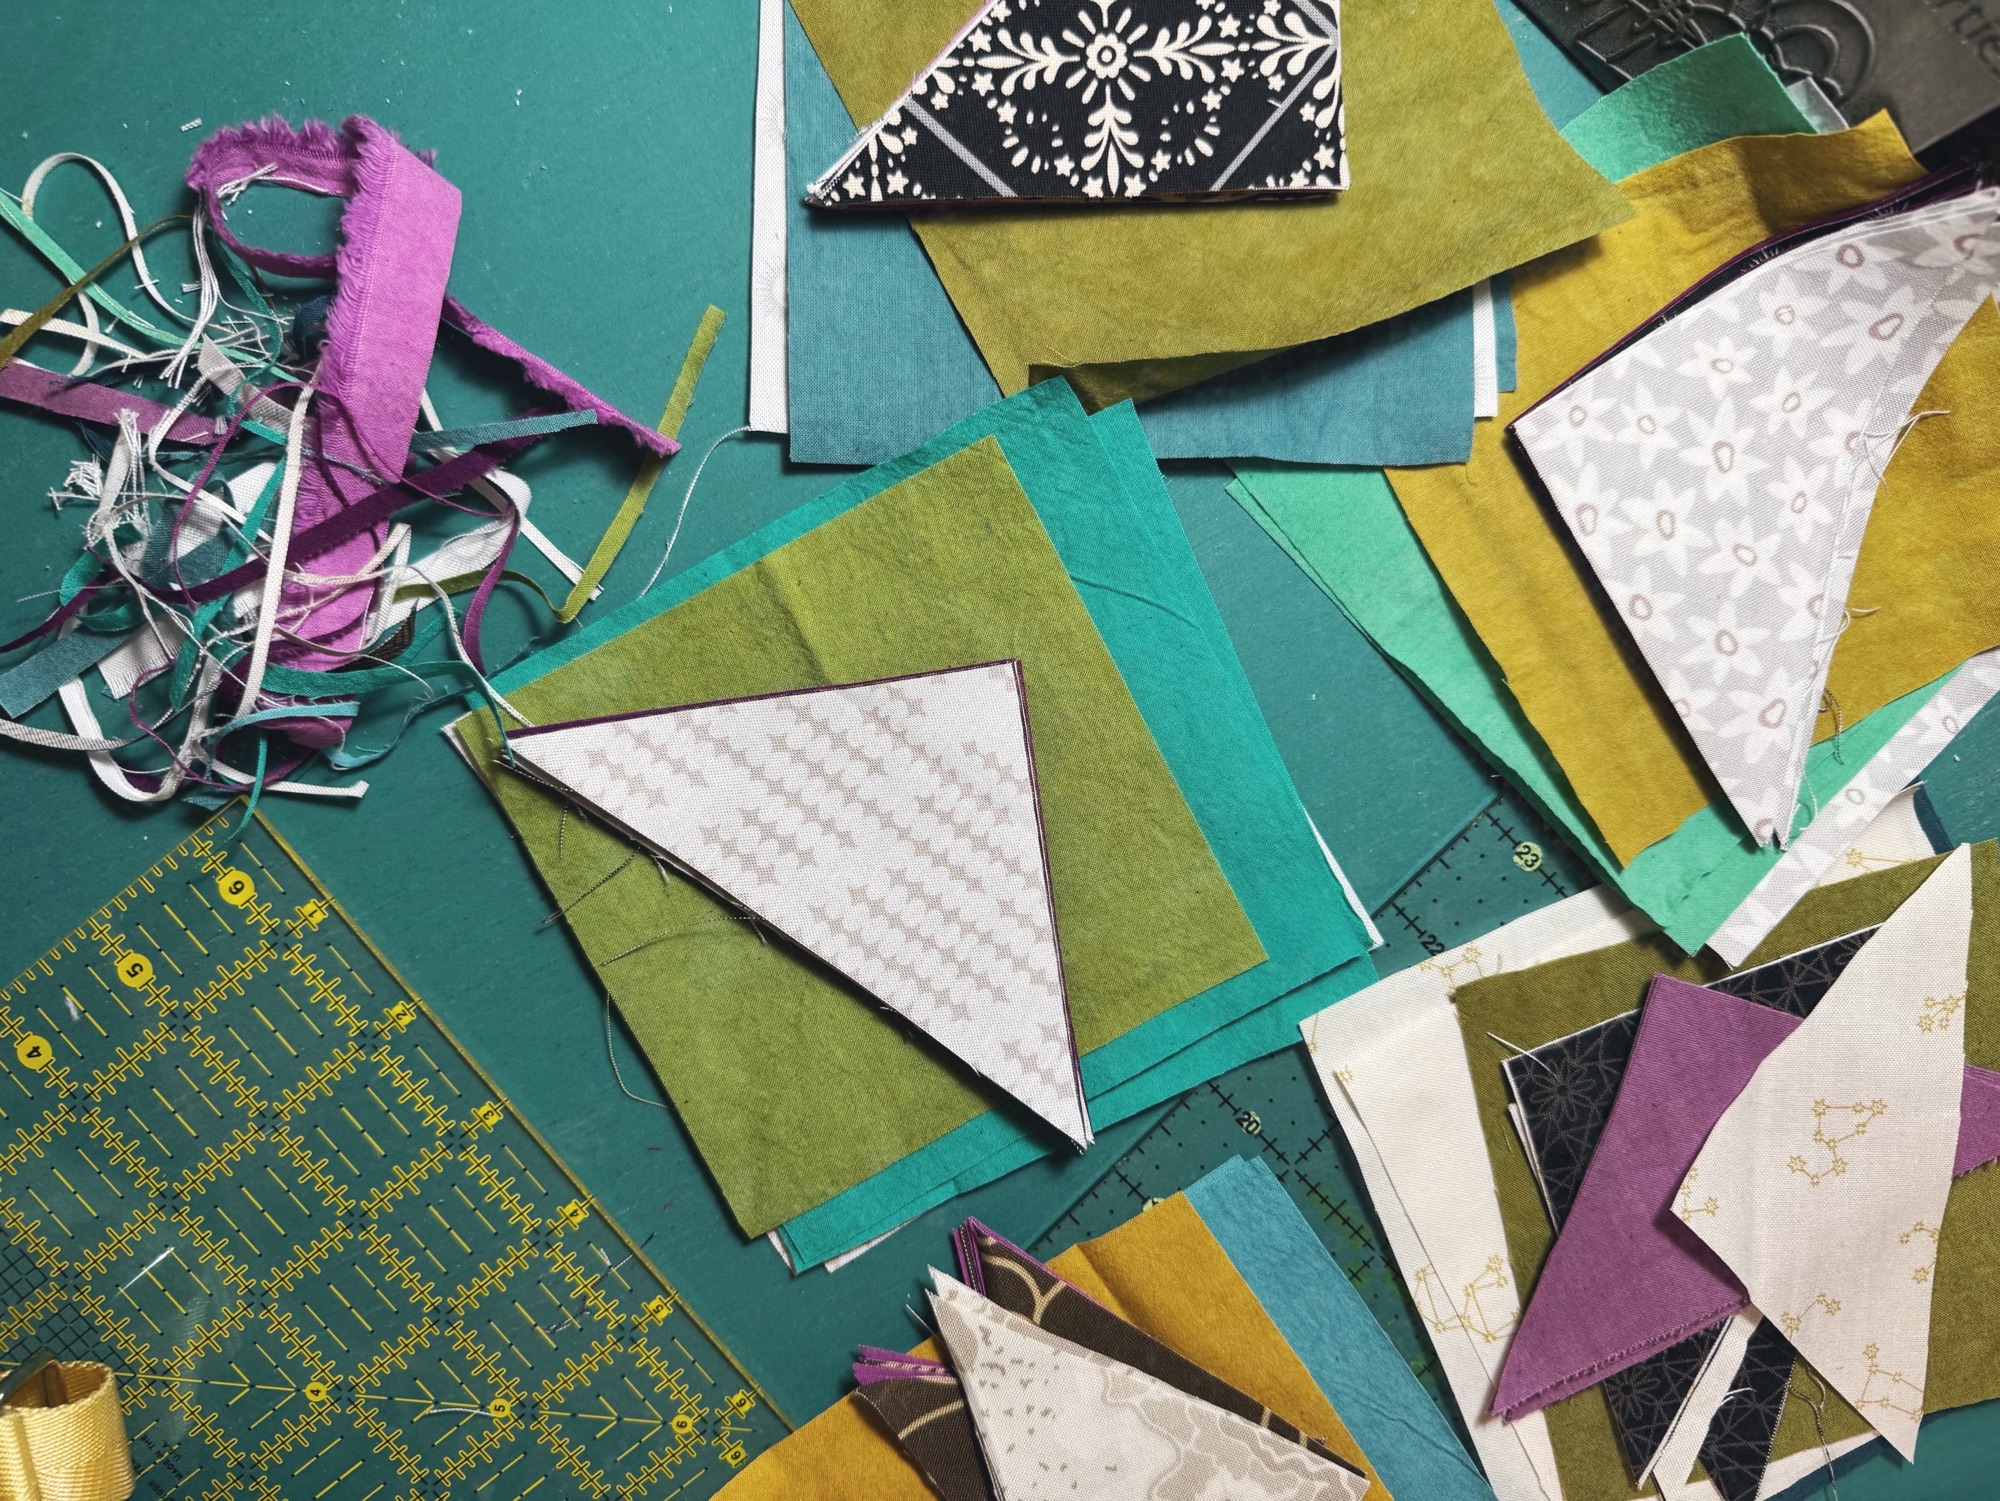
Speaking of figuring out changes to your blocks, I wholeheartedly DON’T RECOMMEND batch cutting for your Palazzo quiltalong (or any quilt you’re making for that matter) at first. I like batch cutting and marathon chain piecing sessions but only after I’ve made one block so that I can be sure that I like the fabric and color placement before I fully commit. That’s why, if you’ve ever been to one of our trunk shows, we show quilt backs with so many orphan blocks on the back. Because even with all the planning and tools and coloring sheets, seeing it done up in fabric looks different than what’s in your head. Which brings me to Brenda’s blocks.

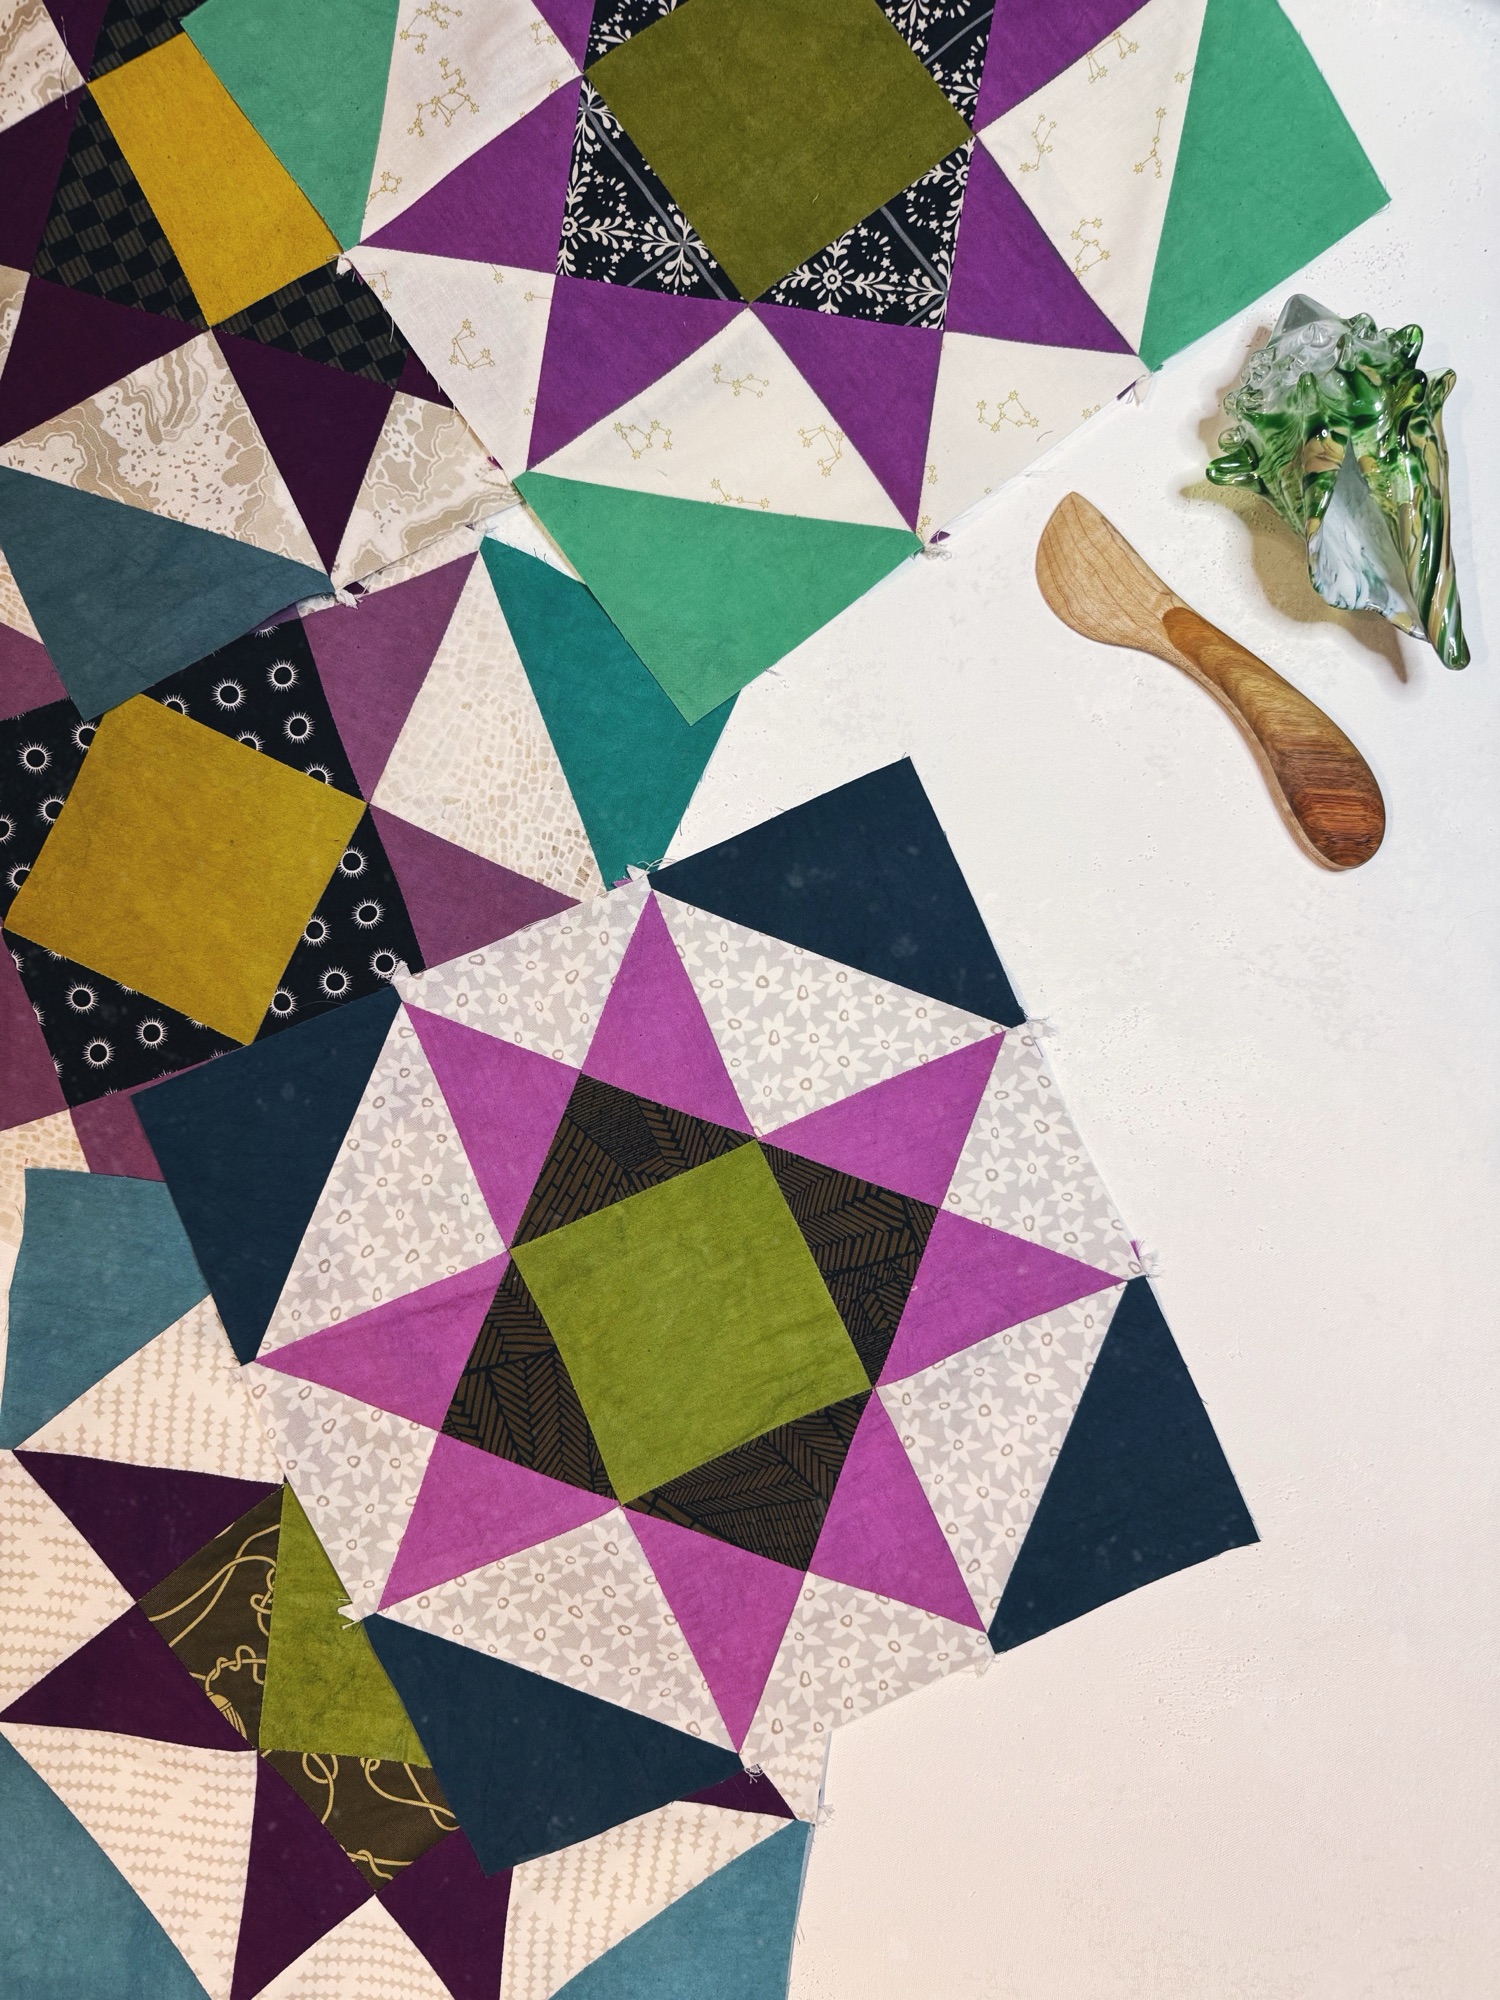
Originally, Brenda was going to do scrappy corners like I’m doing in my quilt. It was going to be shades of lime-y yellow green and the background was the terra cotta Dottir and the stars were going to look like the flowers and it was going to be great. And it looked ok. But the black seemed to harsh and those great deep raspberry colors didn’t have a home, and there was a fabric in the stack that was an old Tula print that was directional that didn’t really fit anywhere else, but the colors were so good. So we talked about putting that Tula print in the corners. It was so dynamic and good, we made that the corners for every one of the star blocks.
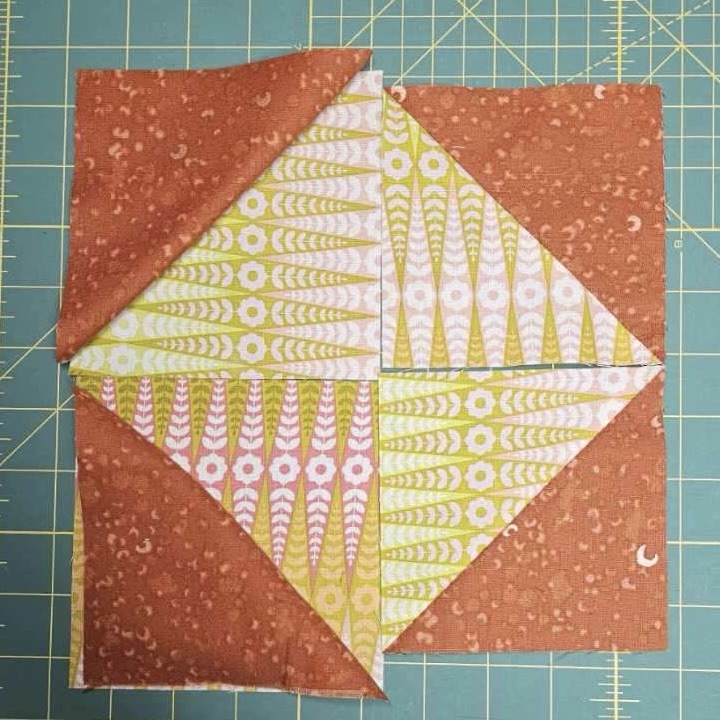
Here’s another tip; that Tula fabric in the corners is directional and we used it to our advantage to make another design element without any extra effort. All you have to do is have your fabric facing the same way and stitch the diagonals in the same direction. Then your corner fabrics will appear to spin as you build your blocks.
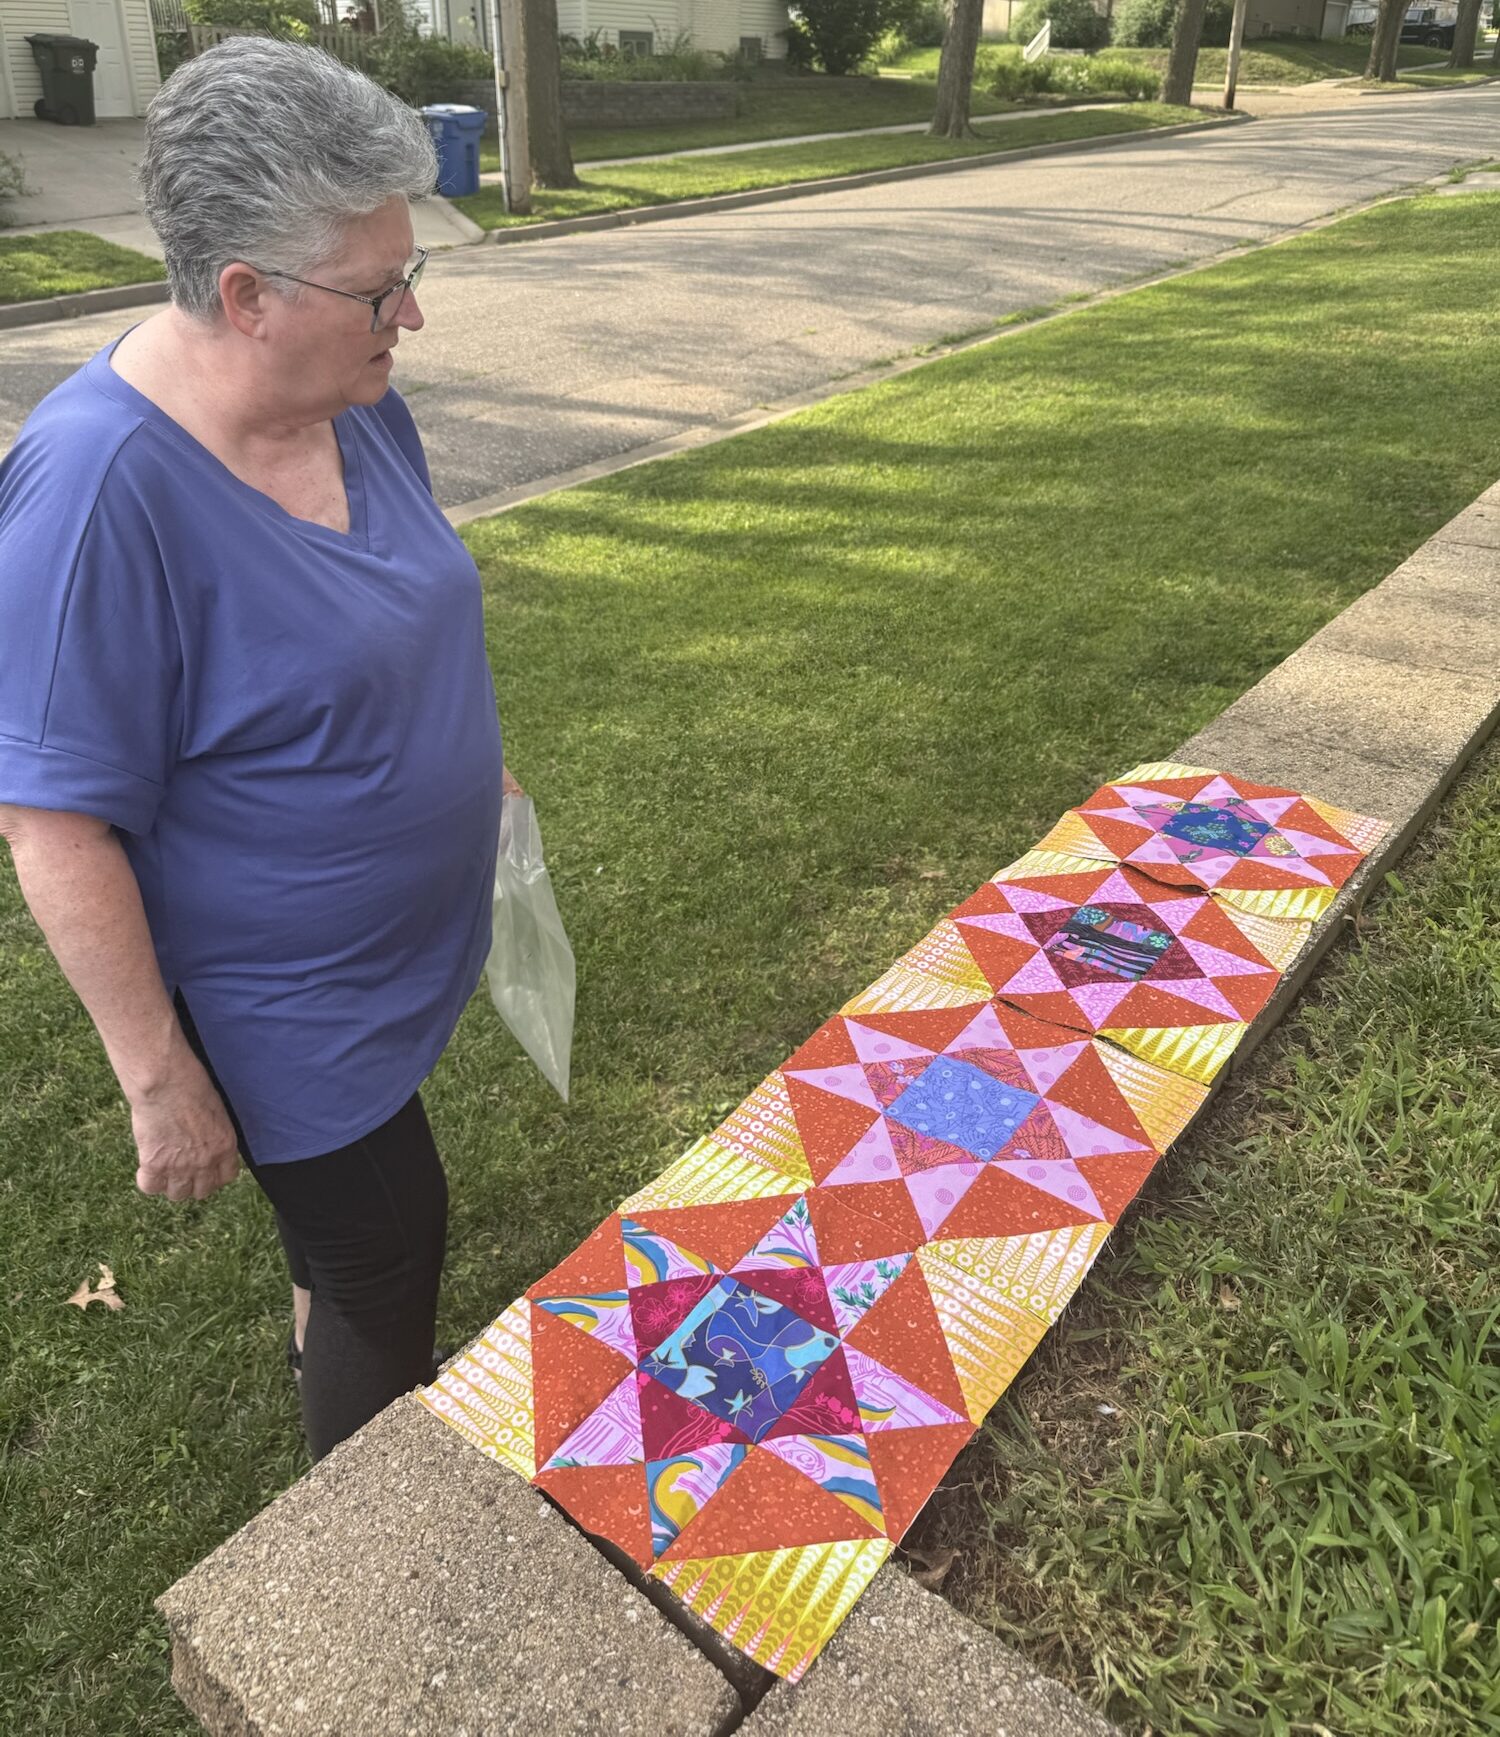
Yes, we did use my retaining wall in the yard to look at blocks. They were safe from cats, dogs, and small humans there. But don’t they just glow in the sunlight?! I love how her blocks are all coming together.
So get to making those blocks, only 8 to start. And make sure to tag @eyecandyquilts and use #palazzoquiltalong in social media so we can see it!
1 Comment
Comments are closed.
Palazzo Quiltalong: Blocks Part 2 – Eye Candy Quilts
11:58 PM, August 2025
[…] pattern that we designed that you can find here. So far, we’ve picked fabric and started on our blocks. Last week was the first half of the blocks, and this week we’ve been doing more of the same. […]