
February8, 2016
I’ve never been a rebel, most of the time I’m good with sticking to the rules. However there’s one quilting ‘rule’ that I’ve never followed, simply because that was not the way I was taught; I press my seams open. All of them. I know that’s not necessarily the norm for most of you, and this isn’t a post telling you that you should press open because I do blah blah blah. To quote a friend from this weekend, “You do you.” So, for you press-to-side quilt along peeps, these are the hybrid pressing instructions, a little bit of both worlds.
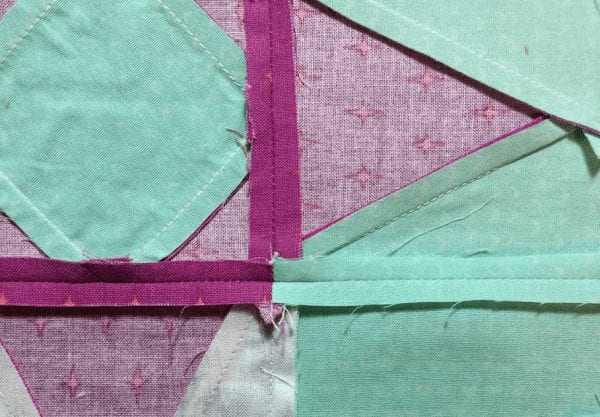
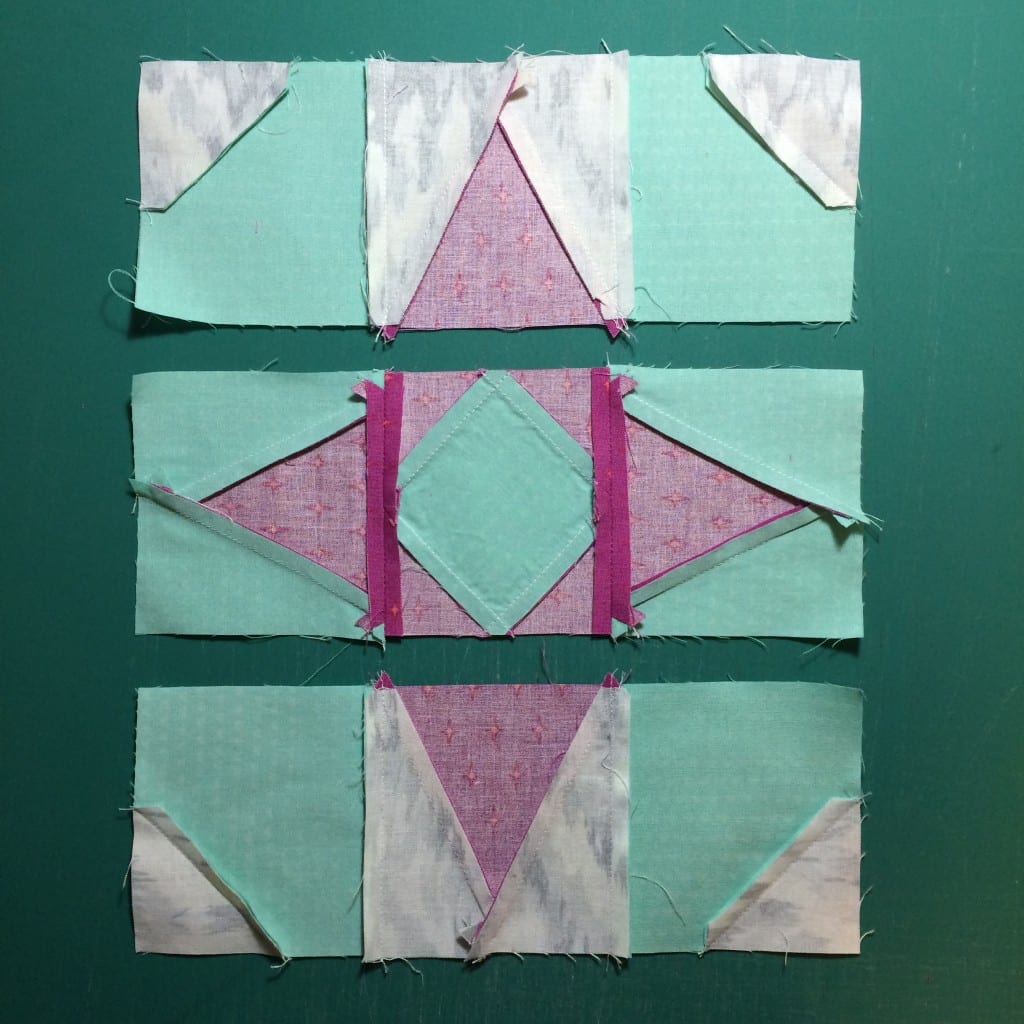
Prepare yourselves, I’m showing you my backside. Block backside. Don’t be such an alarmist…
Standard quilting rules say press to the dark, so press to the dark. For most of you that means pressing away from your background and either to the colored part of your block or the background accent. For me, my background is darker than my background accent so I’ll press to either my background or my block color. Work on all your units that make your block just like the pattern tells you, the block corners, square in a square, and pointy units, but press to the dark.
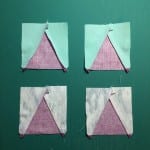
Lay out your units to make your rows and stitch.
This is where we start to deviate from just pressing to the side. Press the seams joining your square in a square to your side pointy units open. For your top and bottom row, press your units towards the dark, the same way you pressed your corner units. Now, stitch your rows together to complete a block.
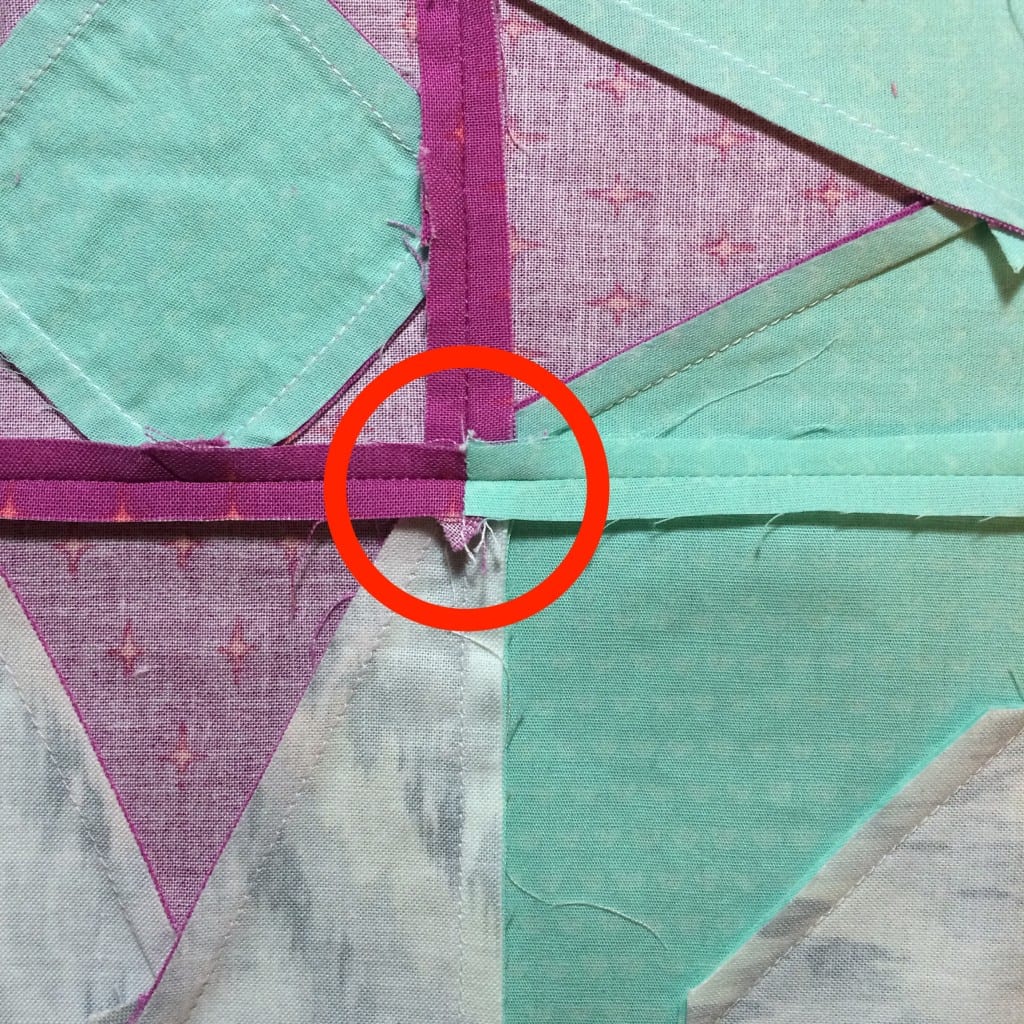
Press these rows open. All of the seams surrounding the square in a square should be open to reduce bulk .Joining your blocks into rows will be easy with the seams pressed open and really no points that absolutely have to match horizontally. However, when you lay out your rows and offset them, your background accent really needs to match up as close as you can get it to create that optical illusion. But you’re in luck! Since we made sure and pressed those background accent units to the side, you should have a little bit easier time of it.
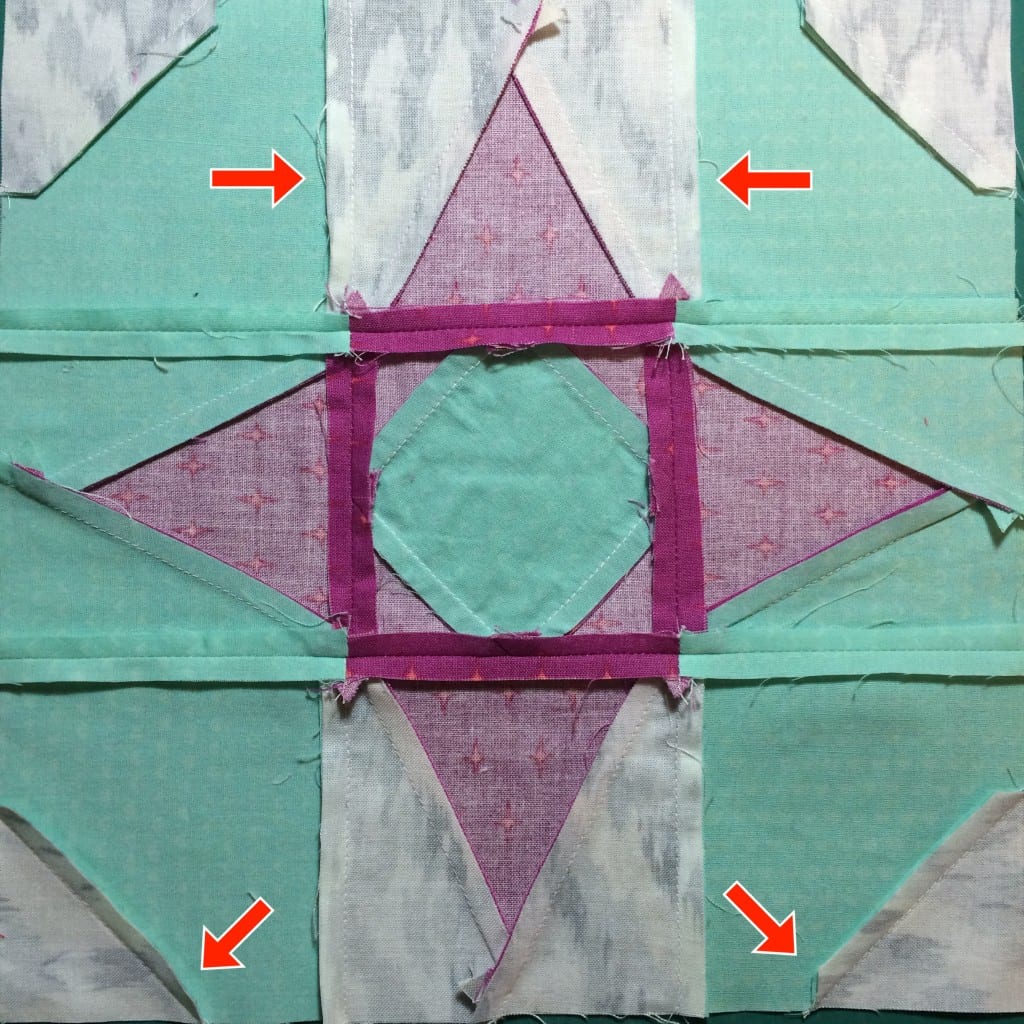
In case you’re trying to make those background accent pointy bits and those corner units nest, it won’t work; the angles aren’t the same. No matter how you press it, you can’t just slide them together and make them lock.
A note about pressing—pressing aids like Mary Ellen’s Best Press, Flatter by Soak, or Magic Sizing is helpful. I grew up using Magic Sizing and the smell makes me feel like I’m six again but Best Press is my personal favorite for my quilt projects.
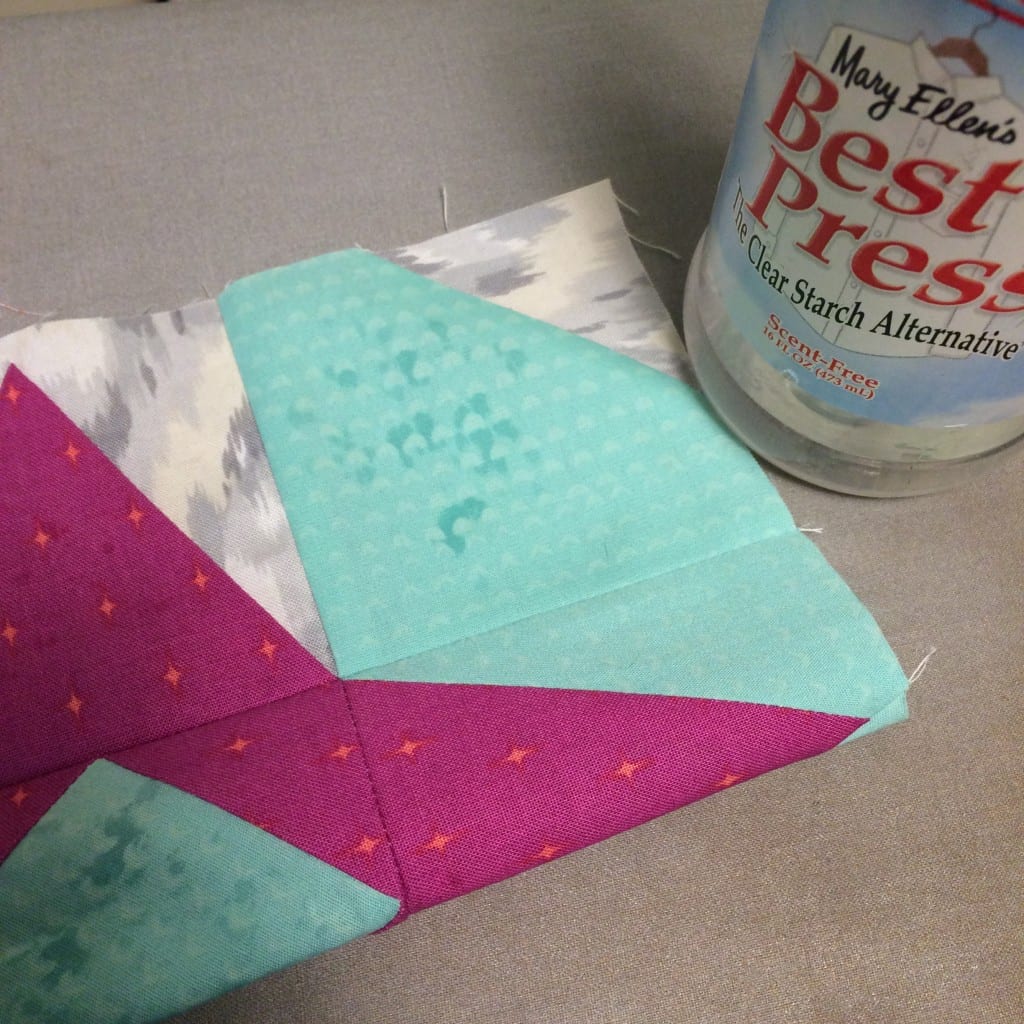
The key to any of them, is to spray and then let the fibers absorb the liquid. If you pick up your iron and press your blocks and it sounds like fajitas sizzling, then all you’re doing is evaporating the liquid before it can do any good. You don’t have to wait very long, maybe 10-15 seconds, but it’s worth waiting.
If you’re trying to keep up (I’m trying, but I’ll admit my blocks aren’t done. Thank goodness there’s no quilt police!), this week’s goal is the same as last week’s goal; original Kismet-ers aim for 11 Kismet blocks and fierce Kismet-ers go for 4 blocks. Time for me to get back on track.
3 Comments
Comments are closed.
Kate
1:58 PM, February 2016
Great post! Super helpful. I was totally doing it different and had some bulky seams and blocks not wanting to sit flat. I will try it for my kismet “homework” this week. :)
Belinda
11:25 AM, February 2016
Isn’t it funny how we all seem to have our little quirks when it comes to pressing blocks? I’m on eof those funny birds who presses depending on my mood! But pressing seams open like you have not only looks neater somehow, its also great for reducing bulk! I like that ;-)
Eye Candy Quilts – Kismet Quilt Along: Halfsies
1:06 AM, February 2016
[…] rows first, not columns. Then, if you’re following the hybrid pressing that I mentioned in a previous post, you can press those row seams open and your half blocks will match up with your full […]